Buy the tools that control paper before the tools that decorate it.
A beginner bookbinding kit should cut accurately, fold cleanly, pierce safely, sew reliably and press work flat. Start there. The handsome specialist tools can wait until your books ask for them.
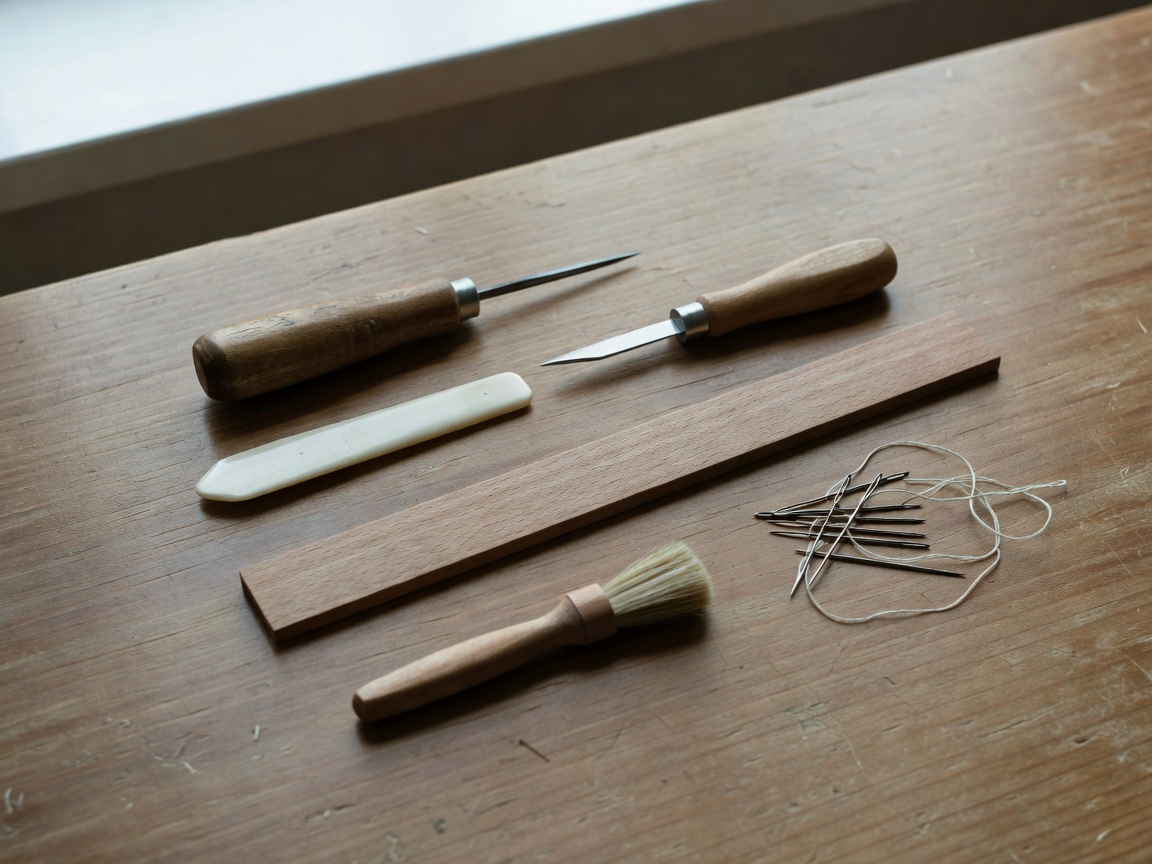
1. Cutting tools
Use a sharp craft knife or scalpel-style handle with replaceable blades. A dull blade wanders, tears fibres and encourages unsafe force. Replace blades before they become a nuisance. Pair the knife with a metal ruler that has a safe raised or non-slip edge if possible. Plastic rulers are easily shaved by the blade and quickly lose accuracy.
A cutting mat protects the table and keeps the blade from blunting immediately. Choose a mat large enough for the paper you normally cut, not merely the smallest one that fits the shelf. Rotate the mat so cuts do not always fall in the same groove.
2. Folding and scoring tools
A bone folder is used to crease, fold and rub down paper. Real bone, Teflon and plastic folders all exist. A smooth folder matters more than a prestigious material. If the edge is chipped, it can mark damp paper or polished cover stock.
Use the folder with controlled pressure. Fold the sheet by aligning corners first, then set the crease from the centre outwards. For cover paper or card, score before folding. Scoring makes a shallow channel that guides the fold and reduces cracking.
3. Piercing and sewing tools
An awl makes holes for sewing stations. It should be comfortable, sharp enough to pierce without tearing, and used over a safe surface. A pricking cradle is helpful for piercing sections because it supports the fold in a V shape. You can make a simple cradle from board before buying a wooden one.
Bookbinding needles are blunt compared with ordinary sewing sharps. The blunt point reduces the chance of splitting thread already in the fold. Use needles with eyes large enough for your thread but not so large that they stretch holes. Waxed linen thread is a reliable starting point for sewn bindings.
4. Adhesive tools
A brush gives better control than squeezing glue straight from a bottle. Keep one brush for PVA and another for paste if you use both. Wash brushes promptly. Dried PVA near the ferrule turns a brush into a small stick with bristles attached, which is less useful than it sounds.
Use waste paper whenever gluing. Place it under the piece, brush past the edge, then remove the waste sheet before it transfers adhesive elsewhere. Keep a damp cloth nearby for fingers and tools, not for wiping finished paper unless you have tested the surface.
5. Pressing without a press
You do not need a standing press to begin. Flat boards and weight can do a great deal. Use clean, smooth boards larger than the book and place absorbent paper where moisture needs to be drawn away. Heavy books can serve as weight, but protect them from damp work.
- Put damp glued work between clean waste sheets.
- Add flat boards above and below.
- Apply even weight across the whole piece.
- Check for trapped glue before leaving it to dry.
- Change damp blotters when they stop absorbing moisture.
6. Extras that can wait
A plough, laying press, finishing tools, brass-edged boards and specialist corner cutters are useful in particular kinds of work. They are not first purchases for most beginners. Buy them when a repeated task justifies the space and cost, not because a photograph of a perfect studio suggests permission.
Likewise, decorative punches, stamps and elaborate thread collections are enjoyable but secondary. A neat fold, square cut and accurate hole pattern will improve every binding. Decoration cannot rescue a book that was cut out of square.
Safety and storage
Store blades covered, needles contained and adhesives closed. Label jars if you mix paste or decant glue. Keep food and drink away from the bench, especially when cutting. Good habits are part of the tool kit; they cost little and prevent most avoidable damage.