Single sheets need a hinge before they need ornament.
Japanese stab binding sews loose sheets through holes near one edge. The best-known base pattern is yotsume toji, a four-hole binding. Learn that first, because the decorative versions use the same discipline.
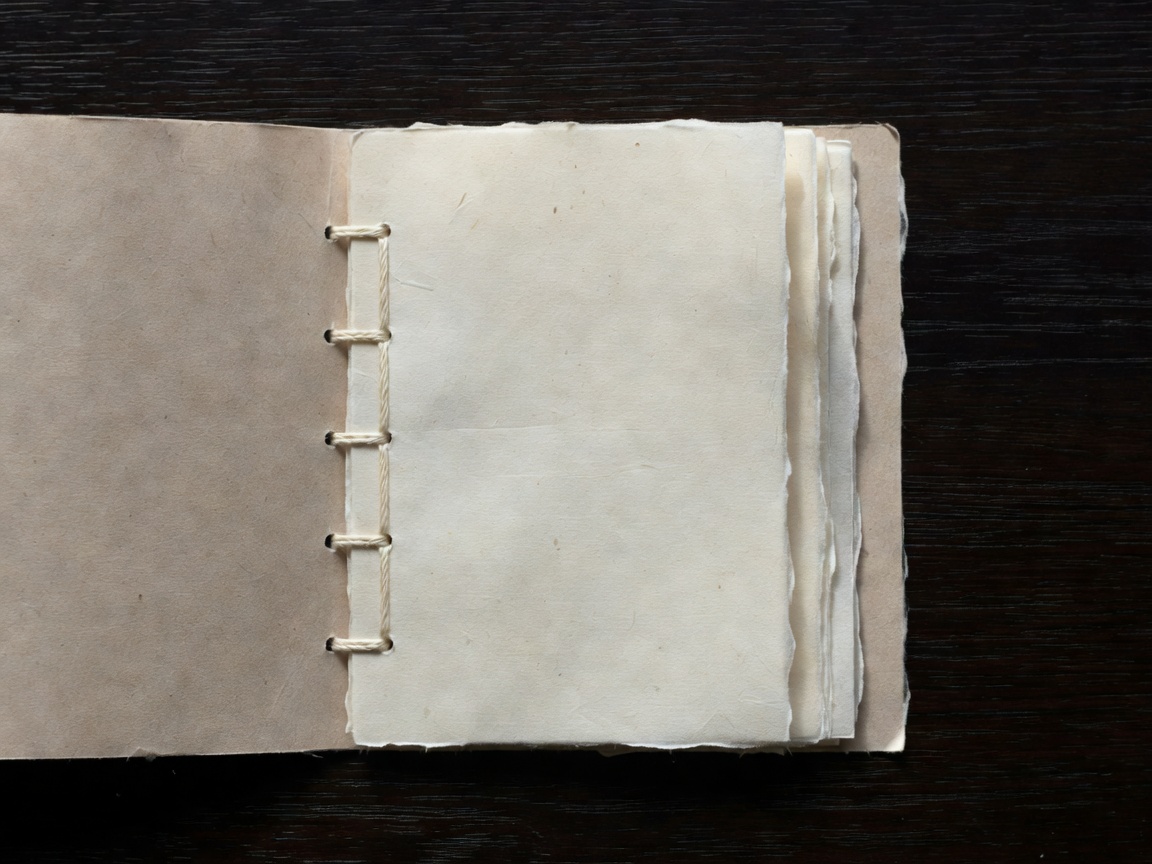
1. Understand what the structure can and cannot do
Stab binding is excellent for prints, poems, thin booklets, menus, zines and projects made from single sheets. It does not open flat like Coptic stitch because the pages turn around a sewn side margin. The sewn edge is firm. The page has to flex beside it.
That flexing area is the hinge margin. Leave enough inner margin for both sewing and reading. If text, drawing or print sits too close to the holes, the reader must force the page open to see it. No sewing pattern repairs a poor margin.
2. Prepare the stack
Cut every sheet to the same size before punching. Japanese stab binding shows uneven edges clearly because the sewing compresses the stack. Use a cover paper that can fold back without cracking. If the cover is heavy, score it parallel to the spine edge to create a hinge line. Scoring means making a controlled crease with a folder or blunt tool, not cutting the surface.
Clamp the stack between waste boards before piercing. The waste boards protect the front and back sheets and reduce breakout around the holes. A screw punch gives a clean hole through a stack, but an awl can work for thin booklets if used carefully.
3. Mark the sewing stations
Yotsume toji uses four main holes along the spine edge. The holes are evenly spaced by eye or by measurement, but the top and bottom holes should sit in from the corners so the paper does not tear. Make a template from card and use it consistently.
- Square the stack at head, tail and fore edge.
- Place the punching template on the front cover.
- Mark holes lightly with pencil or pierce directly through the guide.
- Punch through the full stack while it is clamped.
- Brush away paper dust before sewing.
For thicker stacks, punch in smaller groups and then align them. This reduces ragged holes, but it introduces another risk: groups can drift. Keep the same reference edge against a stop or ruler.
4. Sew the four-hole pattern
Use strong thread and a needle that passes without enlarging the holes. The path wraps around the spine edge and around the head and tail corners. These wraps are not decoration only; they stop the top and bottom sheets from peeling away.
Begin in a middle hole if you want the knot hidden between sheets. Pull each pass snugly. The thread should sit flat against the cover, not bite into it. If the cover dents deeply, the thread is too tight or the paper is too soft for the chosen thread.
5. Move to variants only after the base is tidy
Kikko toji, often described as tortoise-shell binding, and asa-no-ha toji, the hemp-leaf pattern, add diagonal paths and more stations. They look more complex because they are. They also multiply the chance of piercing inaccurately. Use them when yotsume toji is already neat from both front and back.
Decorative patterns need planning before punching. Do not improvise extra holes after the stack is pierced. The cover will remember every false start. Draw the path on scrap paper first and mark the sequence if necessary.
Paper and grain
Grain still matters, although the pages are not folded into sections. If the grain runs parallel to the spine edge, pages bend more willingly as they turn. If it runs across the spine, the page may resist the hinge and bow. Thin Japanese papers, printmaking papers and cartridge papers can all work, but each moves differently under pressure and humidity.
Use a light hand with adhesive if you tip on a decorative cover sheet or label. Stab binding can be entirely sewn, and keeping adhesive away from the hinge often improves movement. Where glue is used, test it on the same paper first.