Coptic stitch is sewing, hinge and decoration at once.
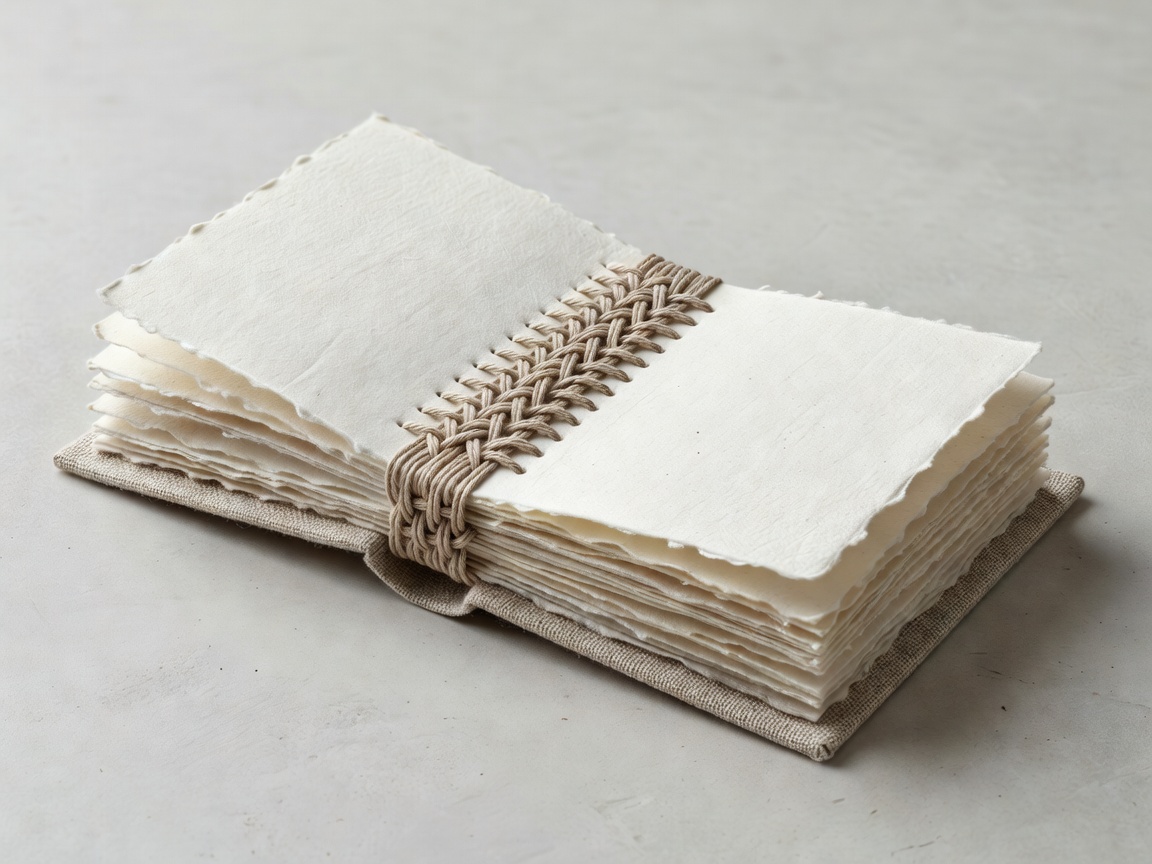
Coptic stitch binding uses visible chain-like sewing across an exposed spine. It opens very flat because there is no glued spine lining forcing the sections to move as one block.
1. Prepare sections that fold cleanly
A section is a group of folded sheets nested together. For Coptic stitch, each section must be folded sharply and pierced in the same positions. The paper grain should run parallel to the spine fold. If it does not, the folded sections will spring open and the sewing will have to fight the paper.
Use a simple piercing guide made from scrap card. Mark the head, tail and sewing stations clearly. Place the guide inside each section and pierce from the inside fold outwards with an awl. Keep the holes just large enough for the needle and thread. Large holes look untidy and weaken the fold.
2. Choose boards before you sew
Coptic bindings often use two separate boards rather than a one-piece cover. The boards may be covered with cloth, paper or leather before sewing. They need holes matching the sewing stations in the sections. The board holes sit near the spine edge, but not so close that the board breaks under thread tension.
Covering boards first is usually easier for beginners. Turn-ins can be worked neatly before thread gets in the way. If you plan to leave board edges visible, sand and seal them before assembly. A rough board edge will catch thread and make the finished book feel unfinished.
3. Understand the path of the thread
The stitch works by linking one section to the next. A kettle stitch is the linking stitch at the head or tail of a section. Chain stitches form when the thread loops around the previous row before returning into the current section. The thread therefore holds each new section to the one below it.
- Start with the back board and the first section, following the chosen Coptic sewing pattern.
- Move through the first section from station to station, attaching it to the board.
- Add the next section and loop around the thread bridge from the previous section.
- Pull the thread firm enough to close gaps, but not so tight that the fold tears.
- Finish with the front board, keeping the final row consistent with the first.
Waxed linen thread is common because it grips and resists fraying. Unwaxed thread can be waxed by drawing it over beeswax and smoothing it with fingers. Over-waxing leaves lumps that collect dust and drag through the holes.
4. Control tension deliberately
Tension is the main skill. Loose sewing leaves sections gapping at the spine. Tight sewing cuts paper, bends boards and makes the chain pattern pucker. Pull in the direction the thread naturally travels, not straight away from the spine. After each station, check the section alignment before moving on.
If the book twists, do not solve it by pulling harder. Check whether one section was pierced off-centre, whether the boards are mismatched, or whether the thread crossed incorrectly. Coptic stitch shows errors honestly. That is useful rather than cruel.
5. Decide when Coptic is the right structure
Coptic binding suits sketchbooks, journals and display books that benefit from lying flat. It is less protective than a case binding because the spine is exposed. Dust, abrasion and rough handling reach the sewing directly. That does not make it weak; it means the structure is honest about its priorities.
Compared with Japanese stab binding, Coptic stitch works with folded sections rather than loose single sheets. Compared with adhesive perfect binding, it opens far more freely and needs more sewing time. Compared with a case-bound book, it has fewer covered parts but demands neater visible work.
Finishing checks
Set the book upright and look along the spine. The chains should be even, the boards should sit square, and the sections should not creep forward. Open the book in several places. A good Coptic binding opens flat without needing to be pressed down by force. Trim only if the design requires it; many handmade Coptic books keep the natural folded fore edge.